- An active MailChimp account set up and valid login credentials
- Ensure you have connected an audience for the data you would like to send through the MailChimp integration, and this audience has the 'MailChimp' action selected
- Log in to your Pearl Diver dashboard
- Click the + icon next to Actions on the right hand side of the dashboard home page
- Click on MailChimp in the left hand panel
- Click Authorize - this will prompt you to log in to your MailChimp account
- A new window will open to authorize your MailChimp account

Upon successful authorization, a default Many-to-1 audience mapping is saved automatically.
Handling Audience Mapping Switch from Many:1 to 1:1
When switching from the default Many:1 mapping to 1:1 tag-based mapping, each Pearl Diver audience will be associated with a unique Mailchimp tag within the same Mailchimp list.

Switching from Many:1 to 1:1
-
Go to the Actions page in Pearl Diver.
-
Select the Mailchimp integration card.
-
In the Mapping Settings dropdown, change the mode from Many:1 to 1:1 (Tag-Based Mapping).
-
Click the Update button to confirm the change.
-
A success toast will be shown confirming the mapping switch.
What happens next?
-
In the next sync Pearl Diver will check for existing Mailchimp tags.
-
For each audience, that created or updated in last 30min, a new tag will created using the format:
PDV | [Audience Name](Only if the tag doesn't already exist.)
-
All future syncs will tag contacts based on their audience membership.
📌 Tag Sync Behavior – Important Rules
|
Scenario |
Will Tag Be Applied? |
|---|---|
|
Existing contact already synced before the mapping update to 1:1 and there is no audience update |
❌ No tag applied Proposed solution: resave the audience. |
|
New contact added to an existing audience |
✅ New contact tagged with: PDV | [Audience Name]. |
|
Audience is updated (e.g., contact list changes) |
✅ All contacts tagged in Mailchimp as: PDV | [Audience Name]. |
|
New audience created in Pearl Diver |
✅ All contacts tagged in Mailchimp as: PDV | [Audience Name]. |
|
Pearl Diver Field |
MailChimp Field Label |
Merge Tag |
Notes |
|---|---|---|---|
|
First name |
First name |
|
|
|
Last name |
Last name |
|
|
|
Phone number |
Phone |
|
First non-empty of: company phone, personal phone, mobile, or direct line |
|
Address |
Address |
|
First non-empty of: personal, company, or professional addresses |
|
Company name |
Company name |
|
|
|
Age |
Age |
|
|
|
Department |
Department |
|
|
|
Email validity |
Email validity |
|
Indicates whether the email is valid |
|
Email last seen |
Email last seen |
|
Timestamp or status of last email activity |
|
Gender |
Gender |
|
|
|
Income |
Income |
|
|
|
Job Title |
Job Title |
|
|
|
LinkedIn URL |
|
|
|
|
Seniority |
Seniority |
|
|
|
Website |
Website |
|
|
|
Latest Activity Date |
Latest Activity Date |
|
Most recent engagement or action |
|
Activity Count |
Activity Count |
|
Number of activities tracked |
|
Email address |
|
|
Usually works by default; no Merge Tag edit usually required |
*For MailChimp accounts that allow audience creation:
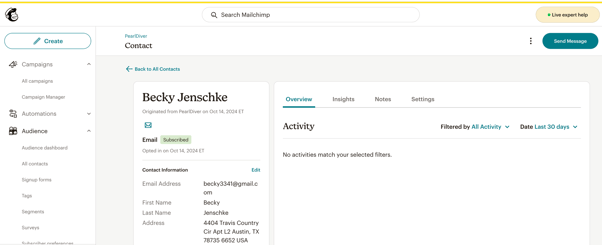
- Sign in to your MailChimp account and click Audience and then Audience Dashboard
- Select the audience Pearl Diver

- View all contacts synced from the Pearl Diver application
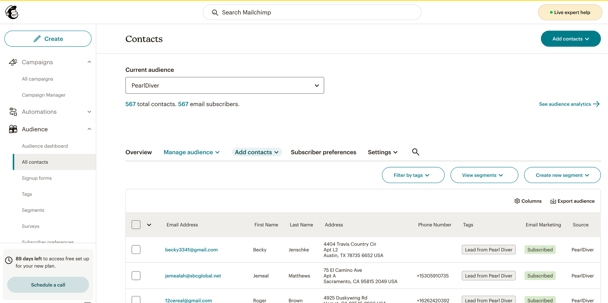
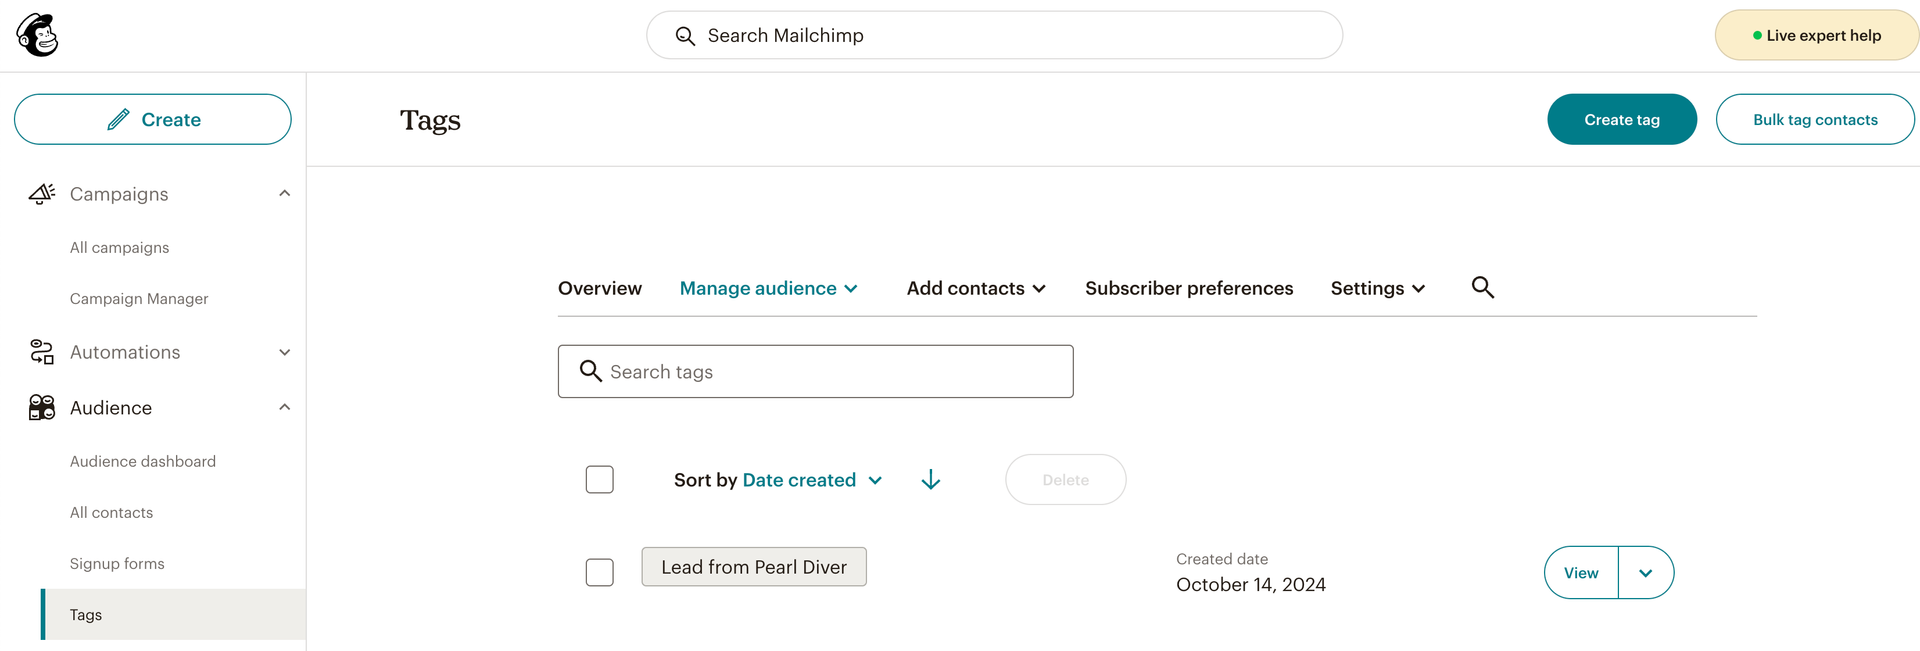
*For MailChimp accounts on the Free plan:
- Click the 1 audience available and filter contacts from ‘Pearl Diver' using tags. Contacts from ‘Pearl Diver' has 'Lead from Pearl Diver' tag. Click 'View’ to see the contacts.
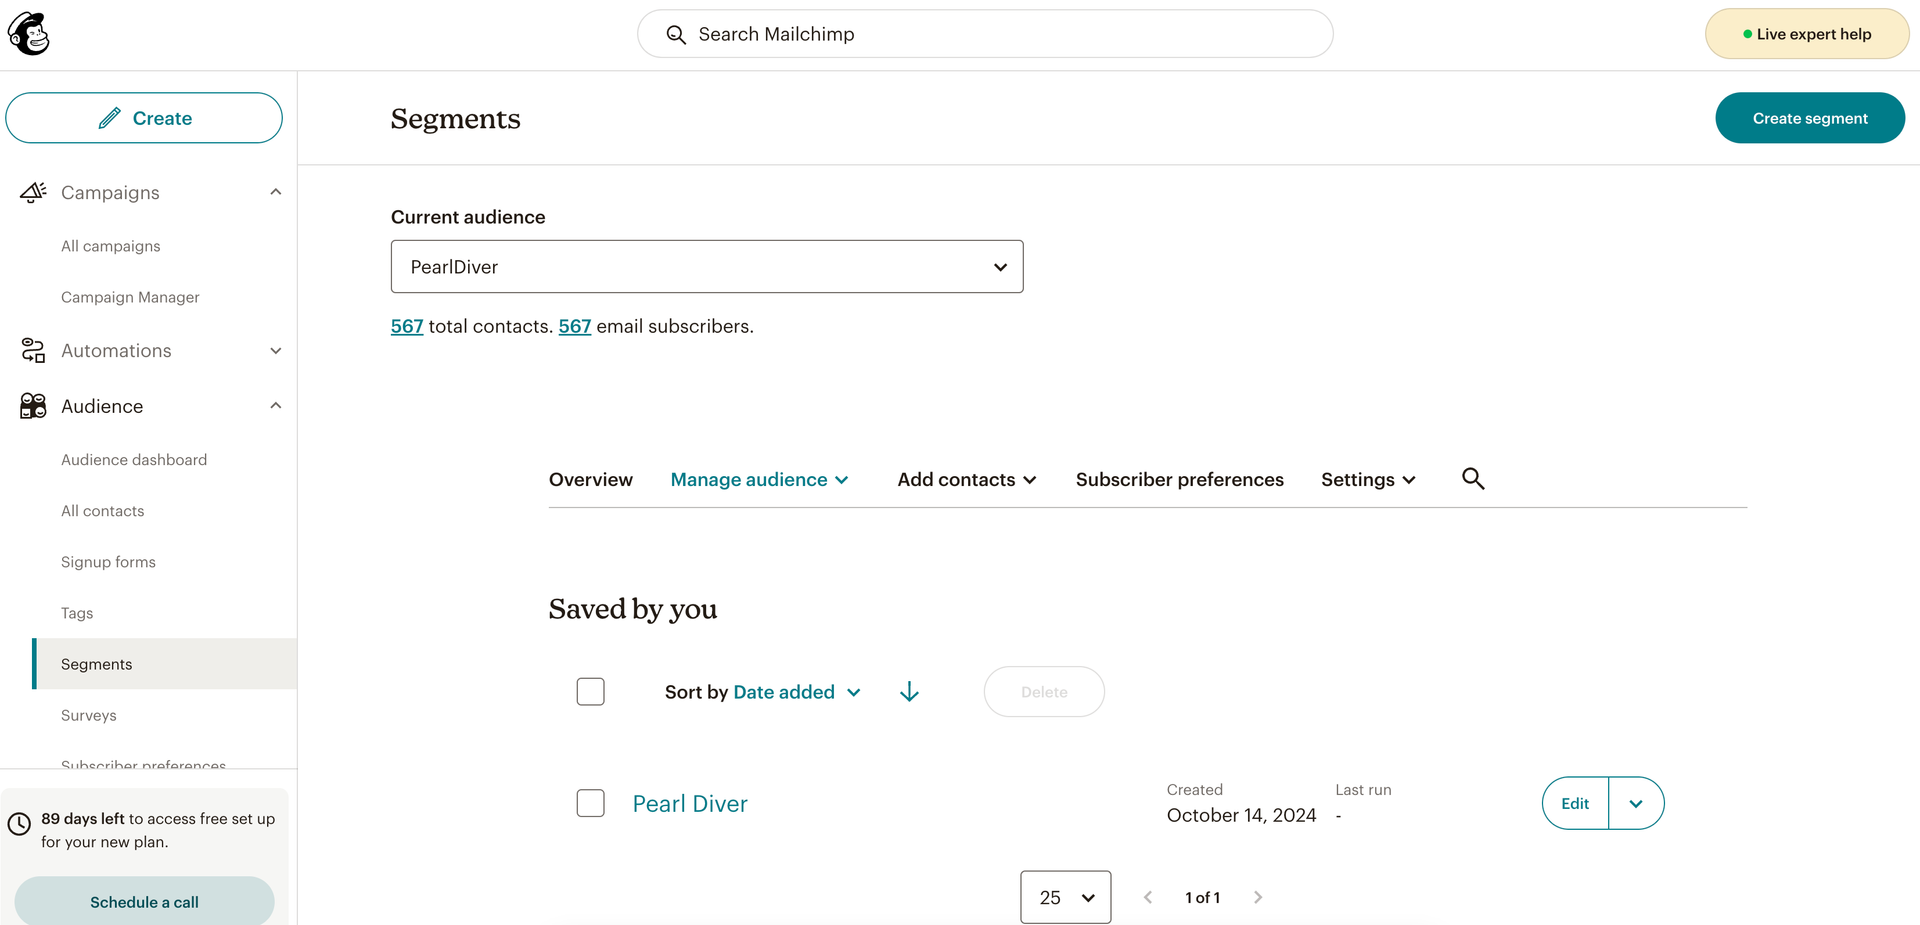
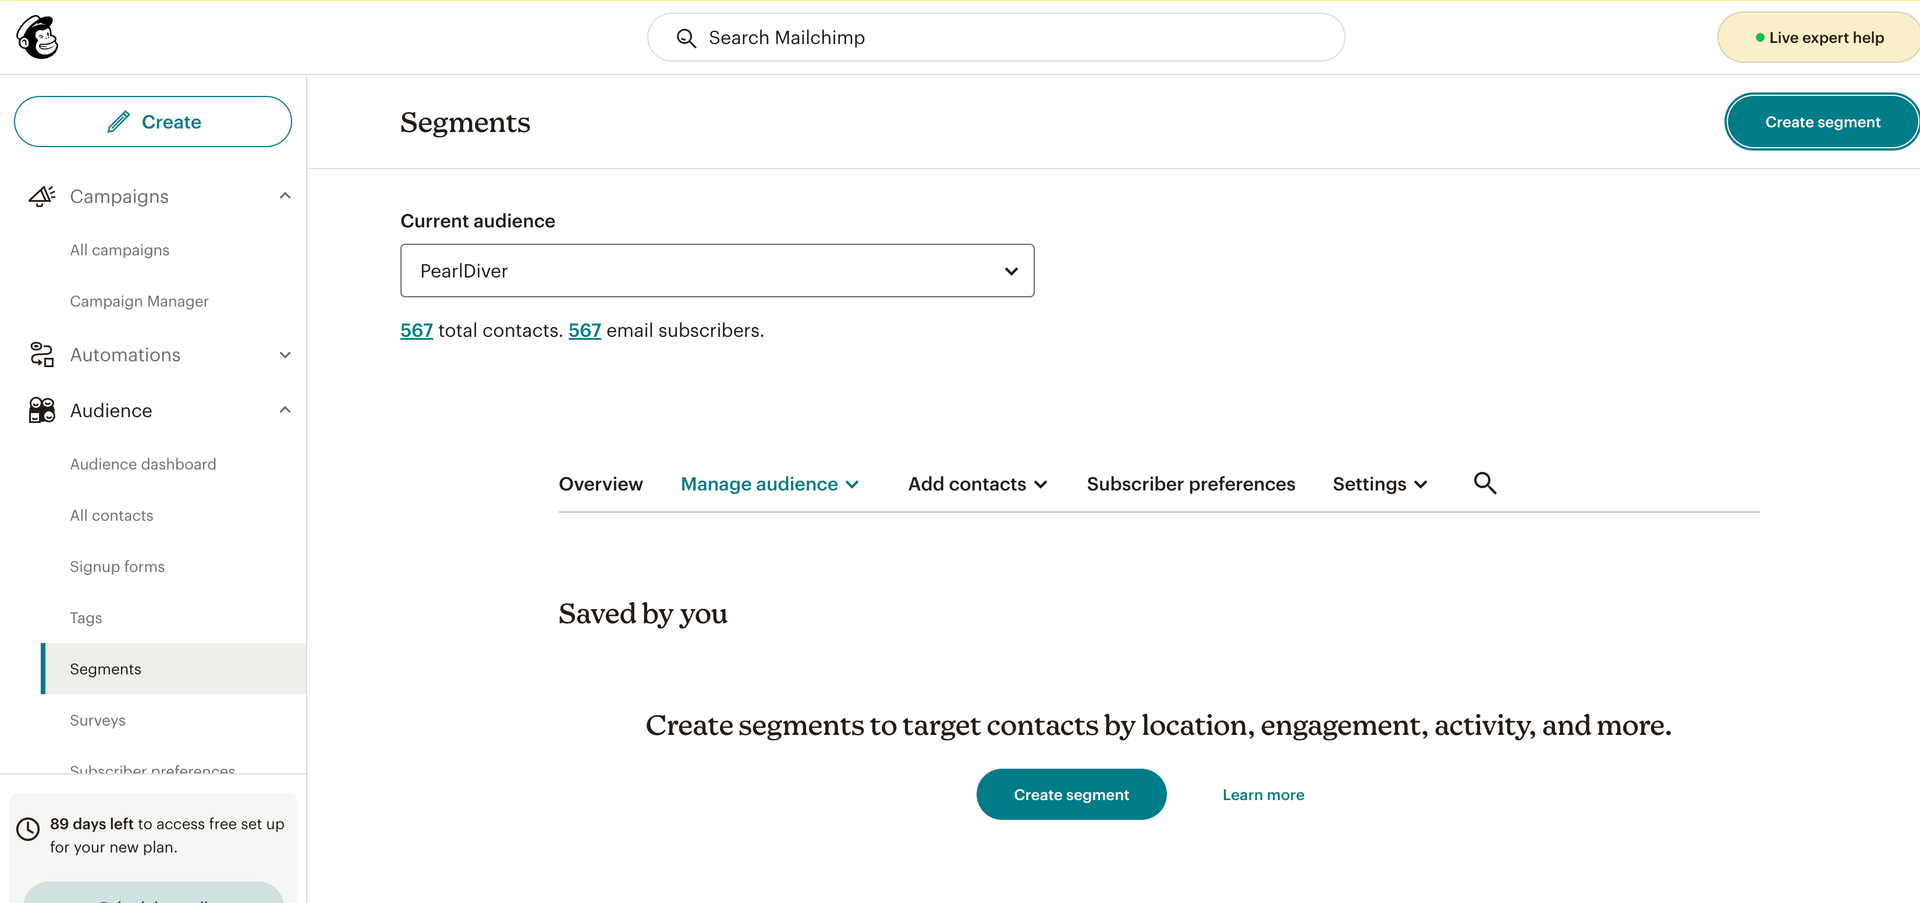
- Alternatively, select 'Segments' and click on 'Create segment'
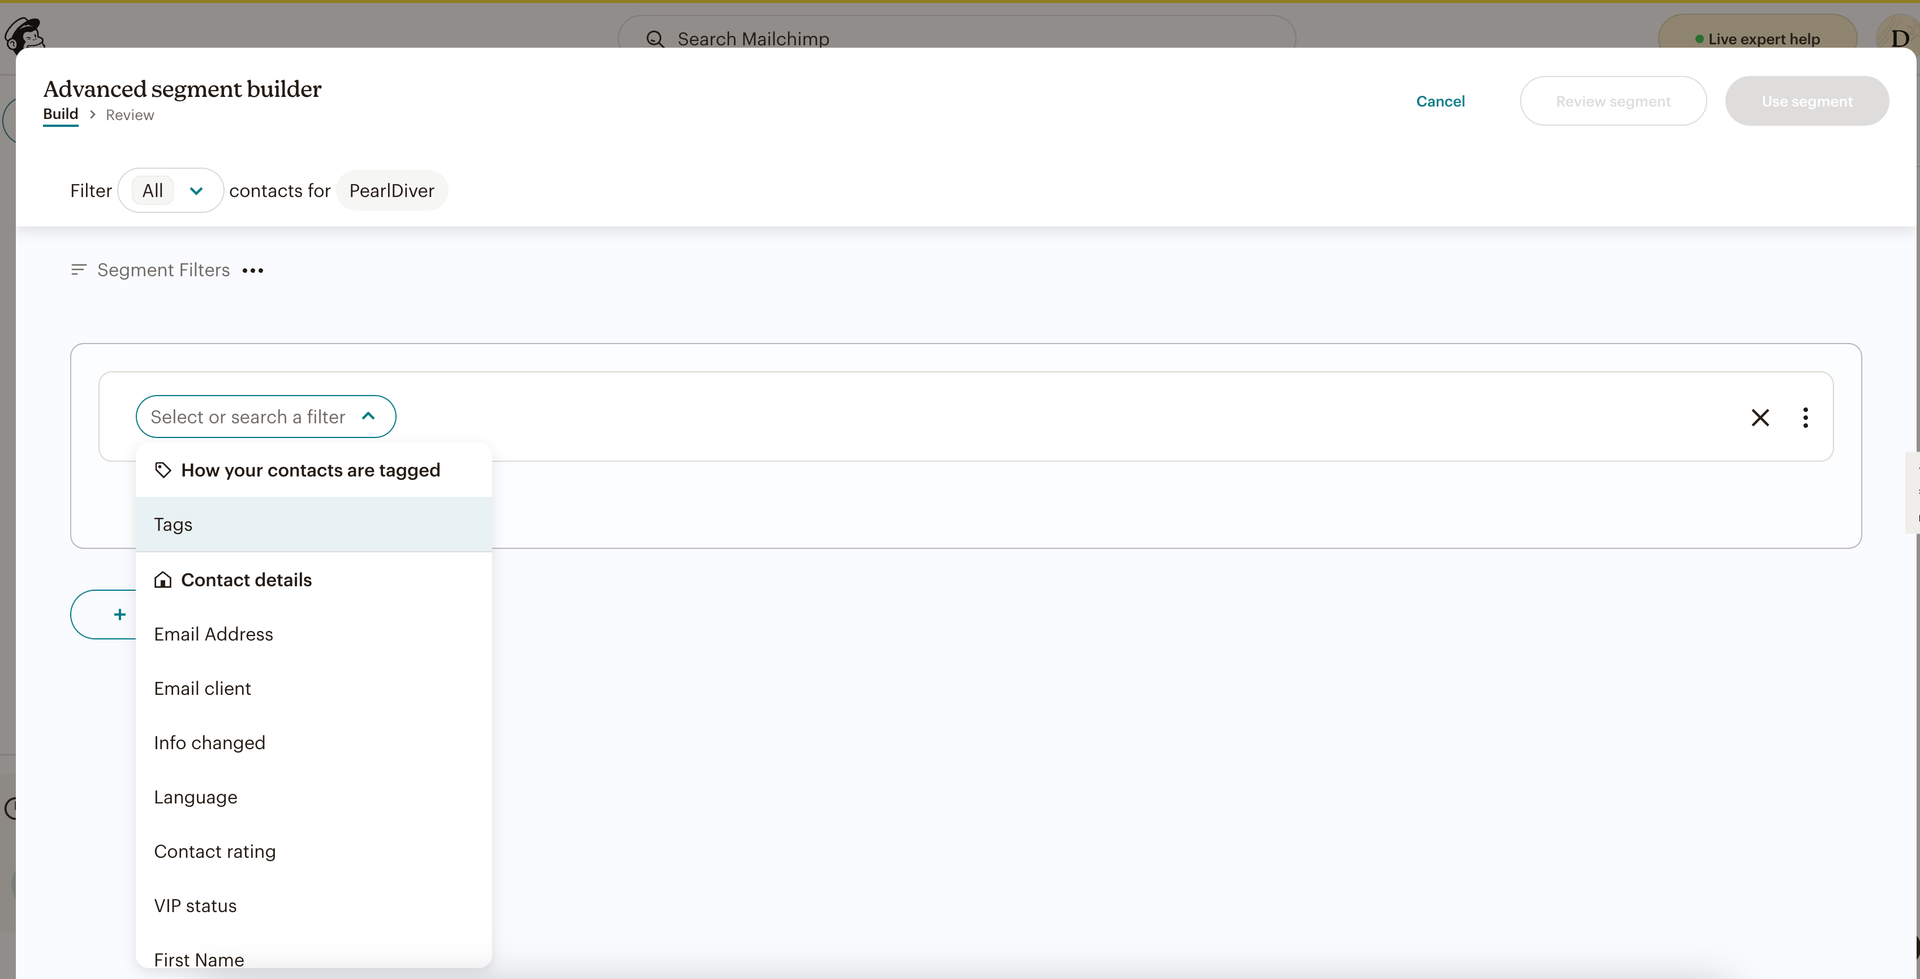
- Select 'Tags' to filter contacts into segment using tags.
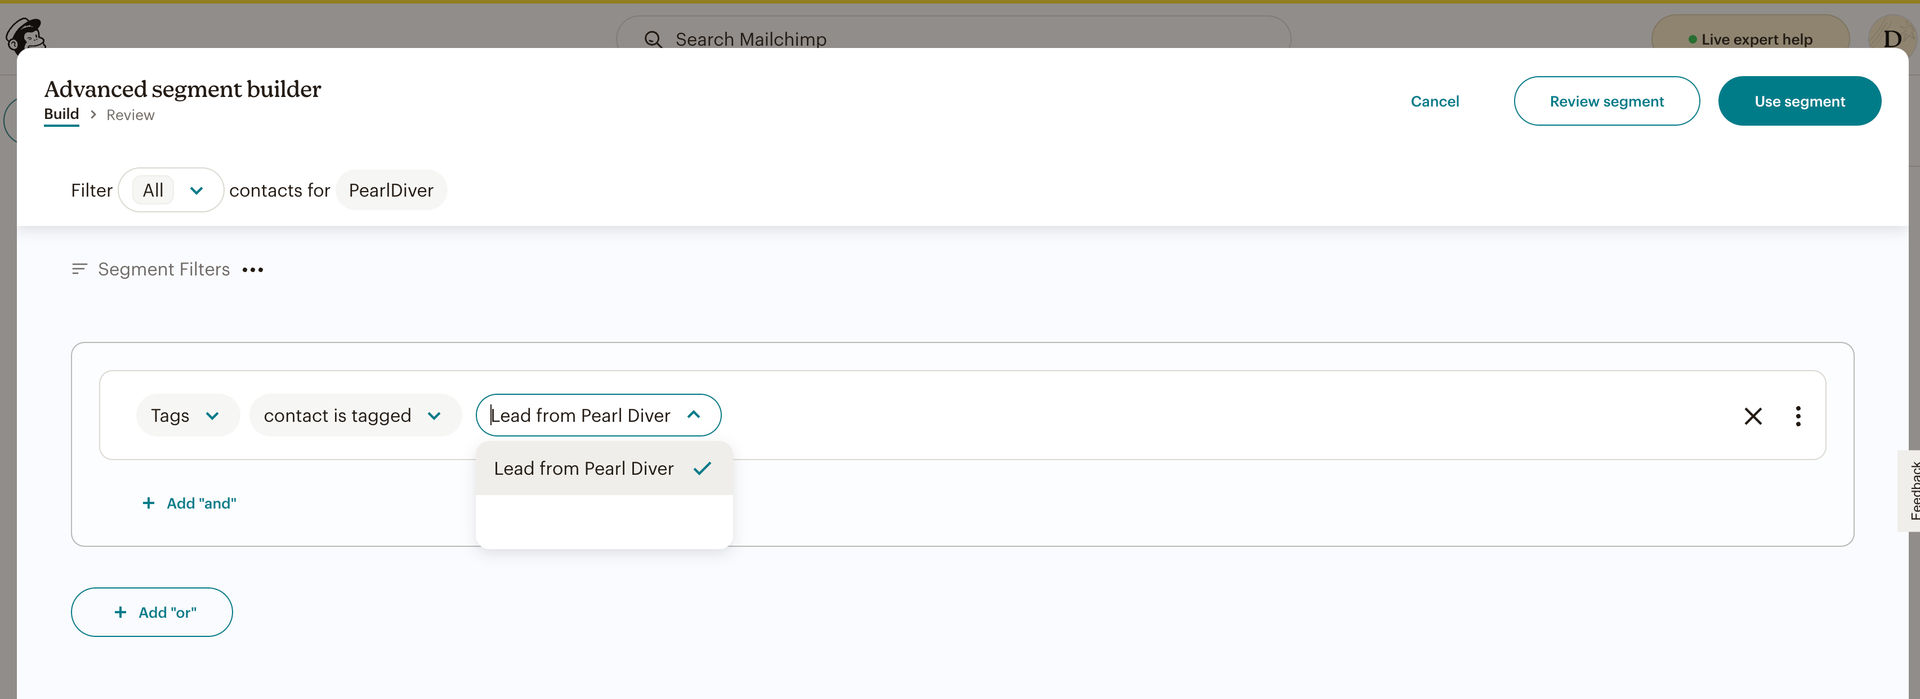
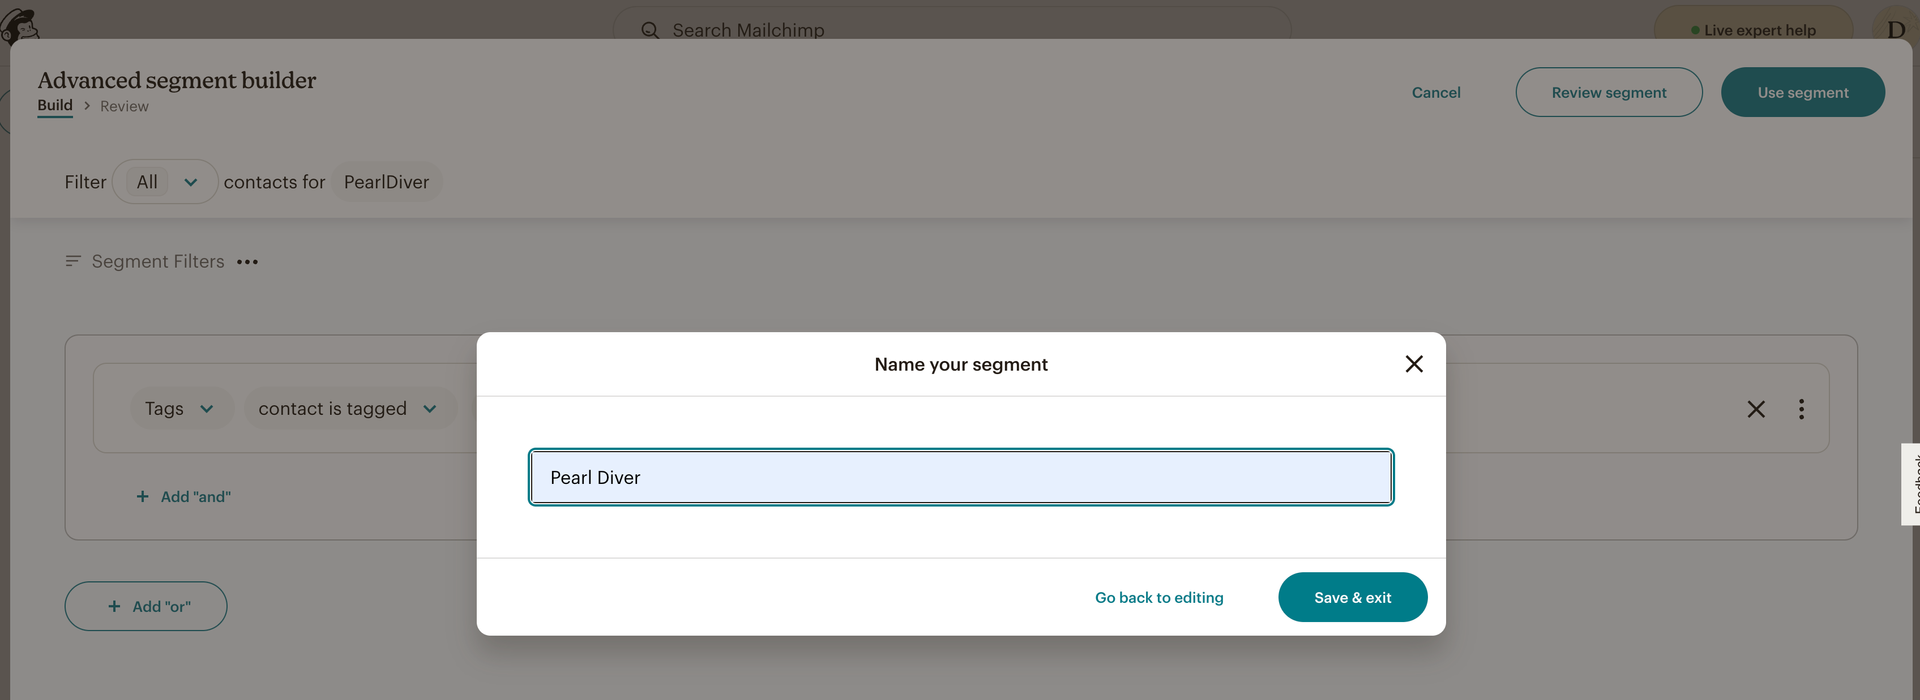
- Select ‘Lead from Pearl Diver' from the dropdown. Click 'Use segment'.
- Name the segment and click 'Save & exit'.
- View your segment by clicking on it.