Prerequisites
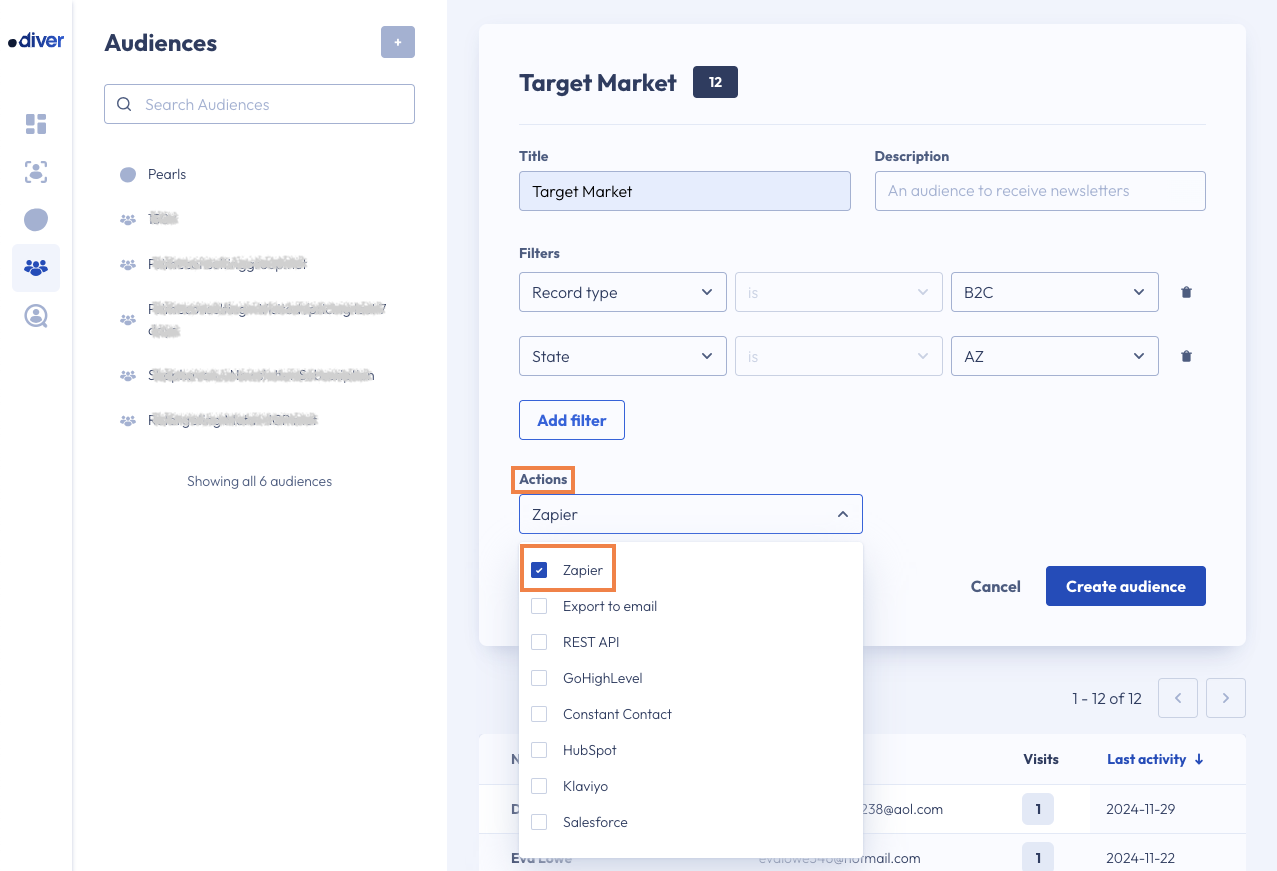
Step 1: Edit your Audience 'Actions' to include the Zapier Option
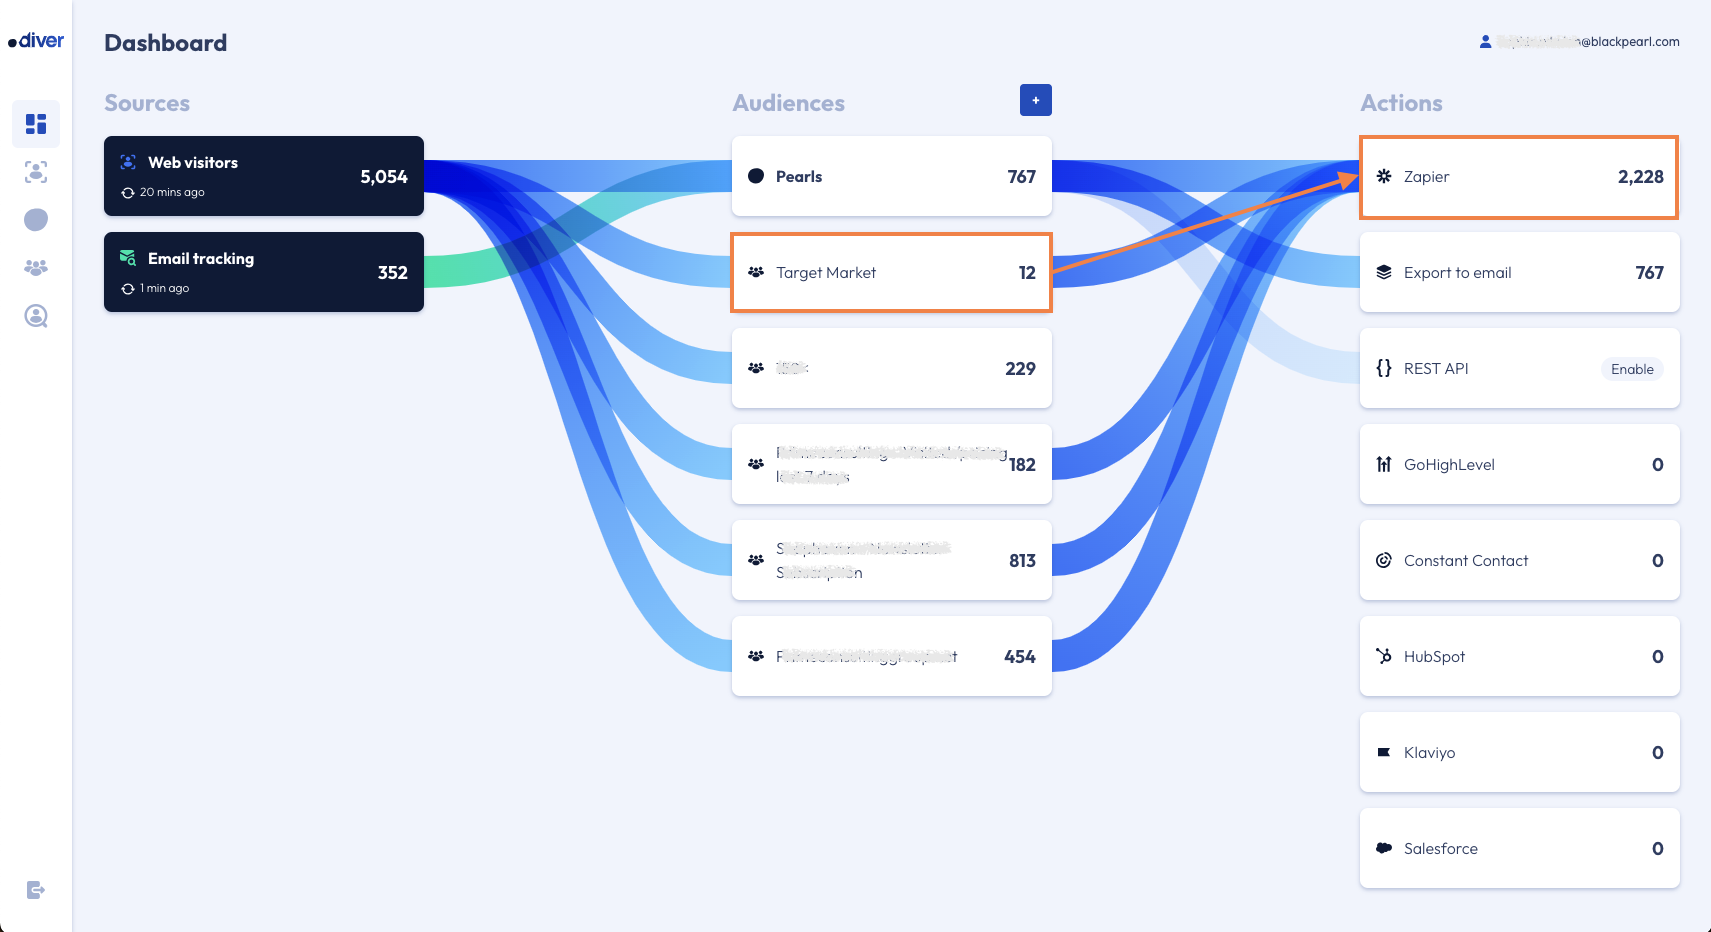
Step 2. Go to the Dashboard, and select the Zapier option under Actions

Step 3. Log in to your Zapier account
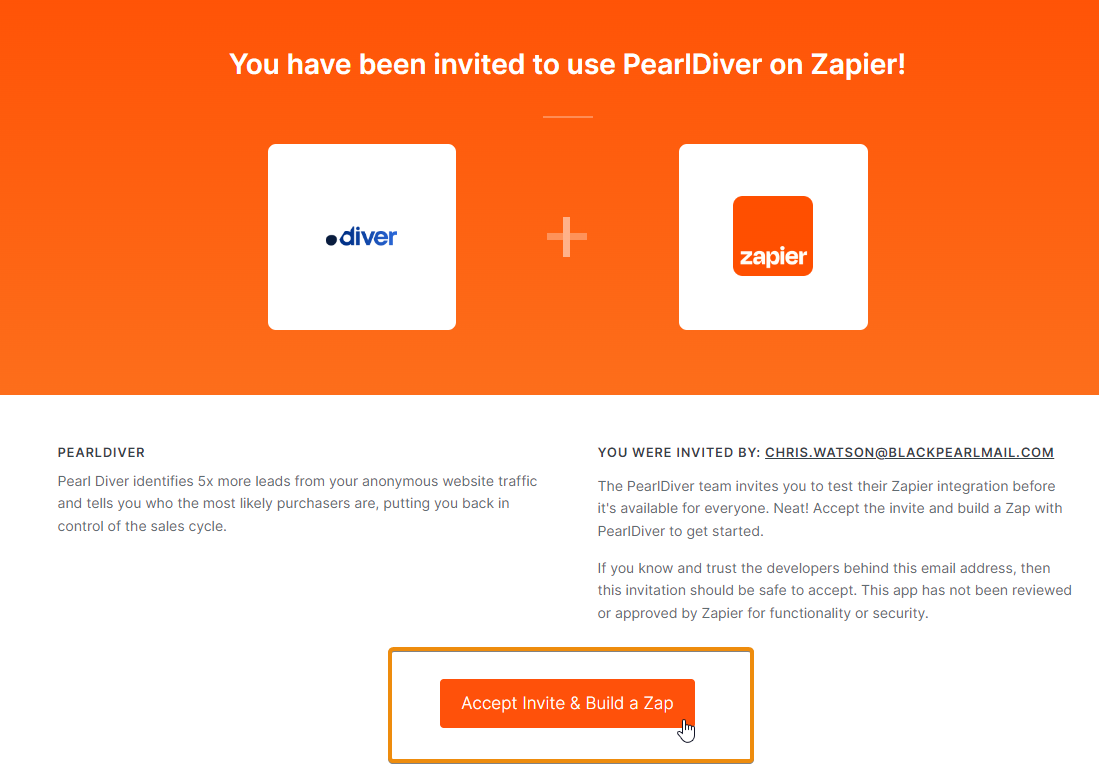
Step 4: Click 'Accept Invite & Build a Zap' to Create a New Zap
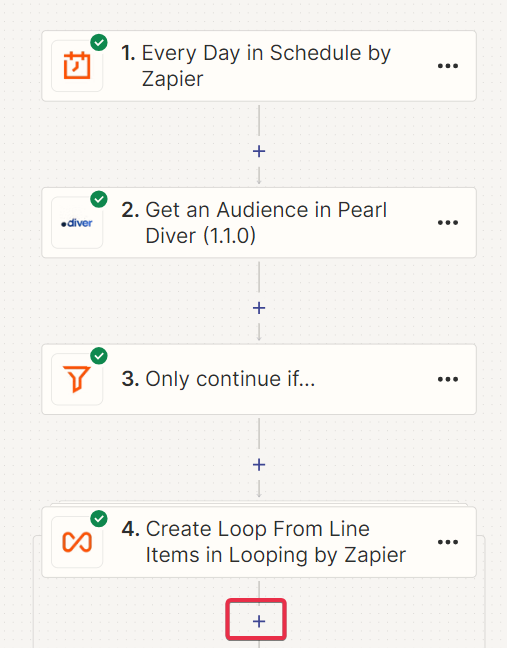
Step 5: Choose a Trigger App
In the "Choose a Trigger App" search bar, type ' Scheduled by Zapier ' and select this from the search results to initiate the workflow.
Note that the Pearl Diver app is not a Trigger so will be greyed out in this section.
Configure the Trigger
Follow the on-screen instructions to configure the specific trigger event for the selected app. This may involve connecting your account, setting up trigger settings, and testing the trigger.
- In the Event section, set the frequency of either "Every day" or "Every hour" based on your preference
- Click Continue
- For "Every day"
- In the Time of Day section, set the time for 12:00AM EST or equivalent - 11:00PM CST, 9:00PM PST (this is when Pearl Diver data completes for the day each day) or earlier base on preference
- For "Every hour"
- In the Time Offset section, set the option to 00 to start at the top of the hour
- In the 'Trigger on weekends?', set the option to 'yes' or based on preference
- Click Continue
You can access the Zapier help documentation on how to configure your triggers and actions for the connection to be enabled.
Step 6: Test the Trigger
- Click Test Trigger
- Scroll to the bottom and select 'continue with selected'
Step 7: If trigger frequency is 'Every hour' set a Datetime formatter
If the trigger frequency is 'Every hour', complete the following, otherwise, skip to step 8
- In the Action event section, set the type to 'Date / Time'
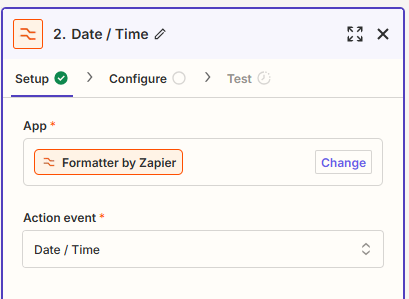
- Click Continue
- In the Transform section, set 'Add/Subtract Time'
- In the Input section, set the value ''
- In the expression, set the value '-1 h'
- In the To Format, set the value 'YYYY-MM-DDTHH:mm:ssZ (2006-01-22 23:04:05 -0000)' which results in the datetime format YYYY-MM-DDTHH:mm:ssZ
- In the From Format, leave unset.
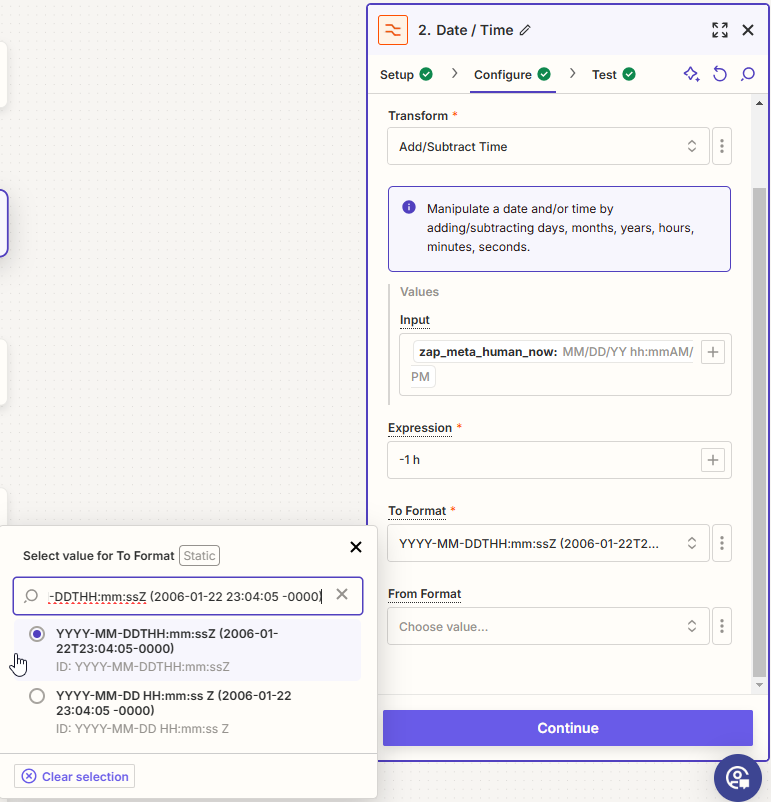
- Click Continue
- Click Test step
- Scroll to the bottom and select 'continue with selected'
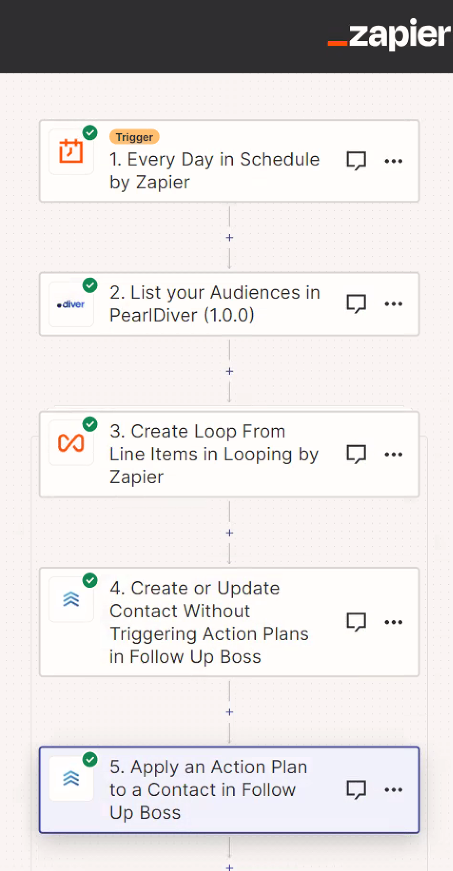
Step 8: Choose an Action App
Step 9: Gather the Audience Key
If you are logged into Pearl Diver, you can find the Key for your desired Audience in the URL, you can skip this and step 10 if you already know the Audience Key.
i.e. https://pearldiver.blackpearl.com/audience/1234/view?page=1&search=&sort=lastActivityDate&direction=desc
- In the Event section, select 'List your Audiences'
- Click Continue
- Click 'Choose' beside Choose an Account, and select your existing Pearl Diver Account, or connect a new one
- Give it a few seconds to load correctly, then click Continue
- Note down the Audience ID's that you require.
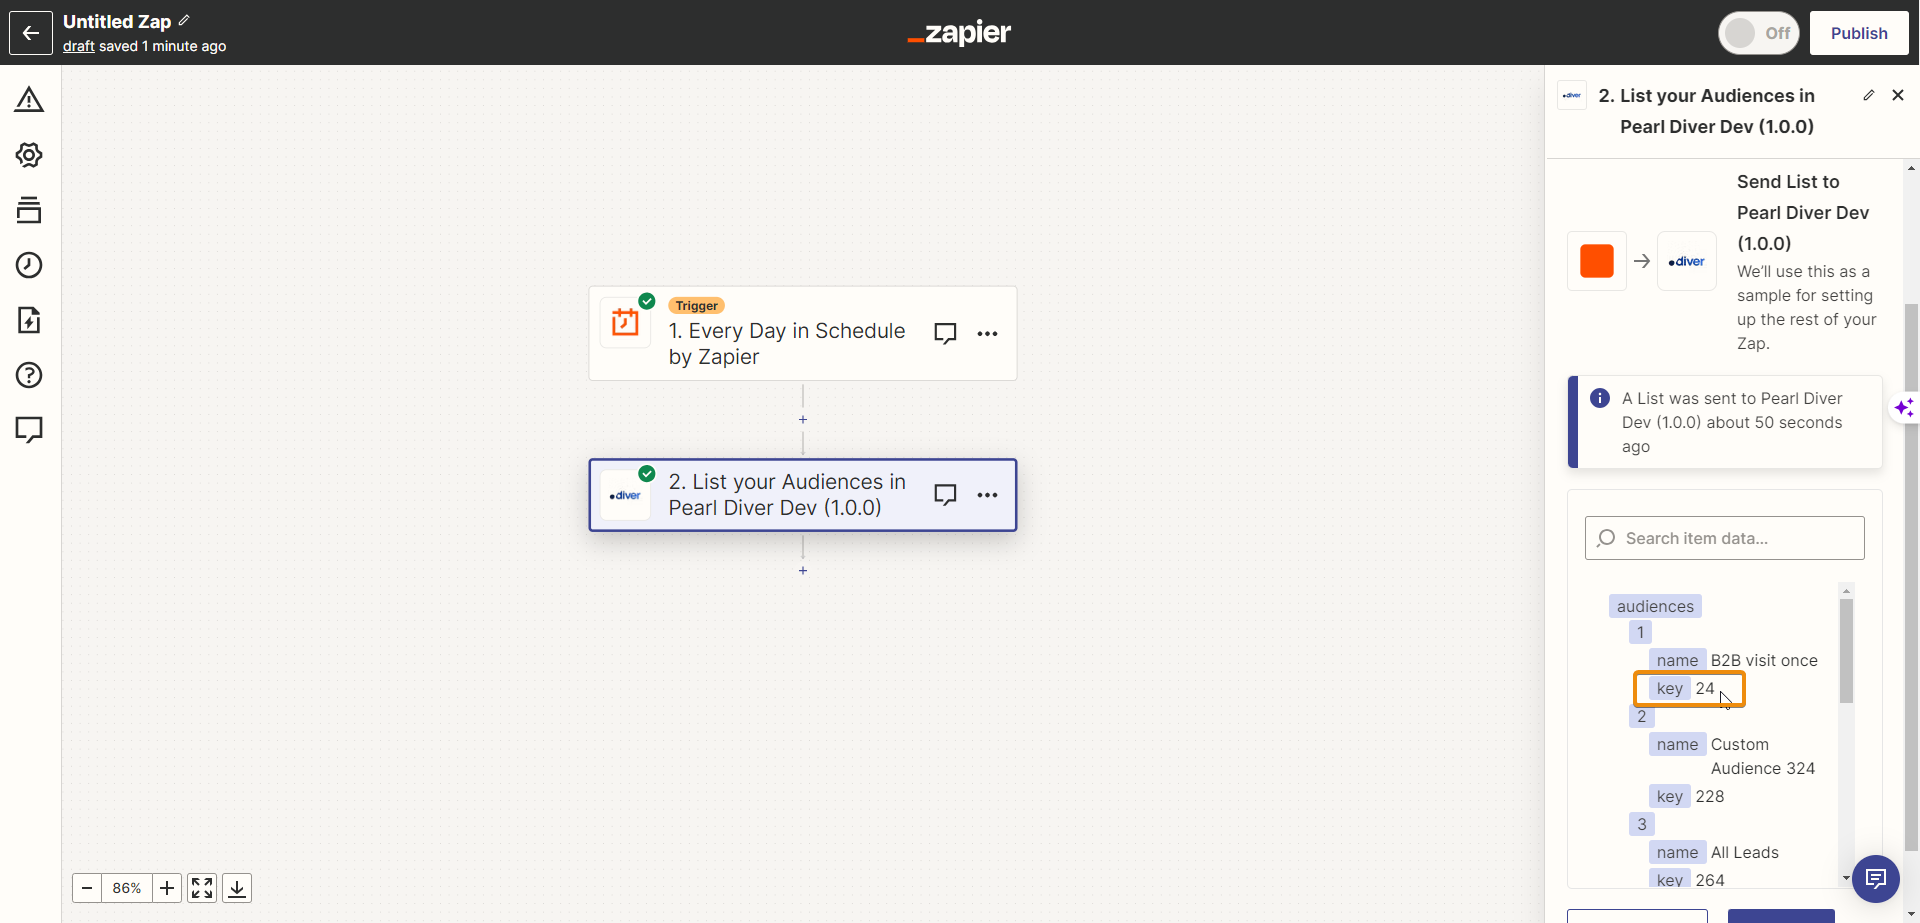
 Make a note of the Audience Key value (a number) that you want to collect data from using Zapier.
For example below, 24 is the audience key for my audience created to capture B2B leads who have visited my website once.
Step 10: Set Up the Action
Note: Including session data will provide you with a row for each webpage visited which, will greatly increase the number of tasks used.
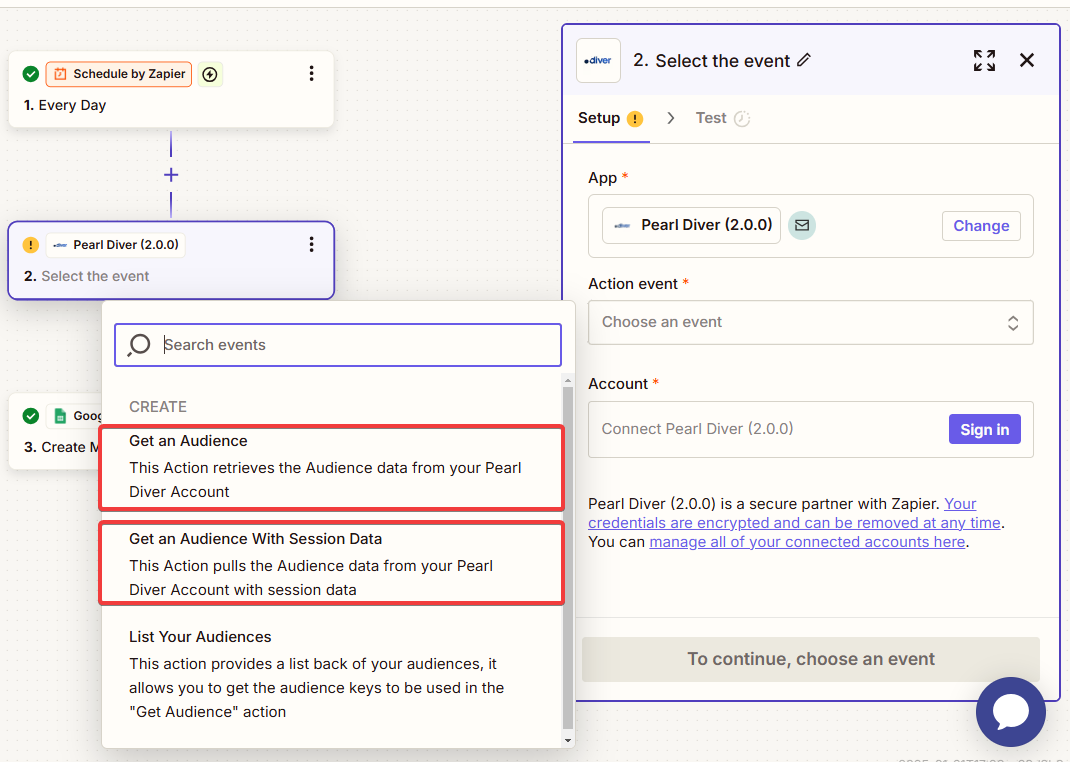
Step 11: Configure the Get Audience event
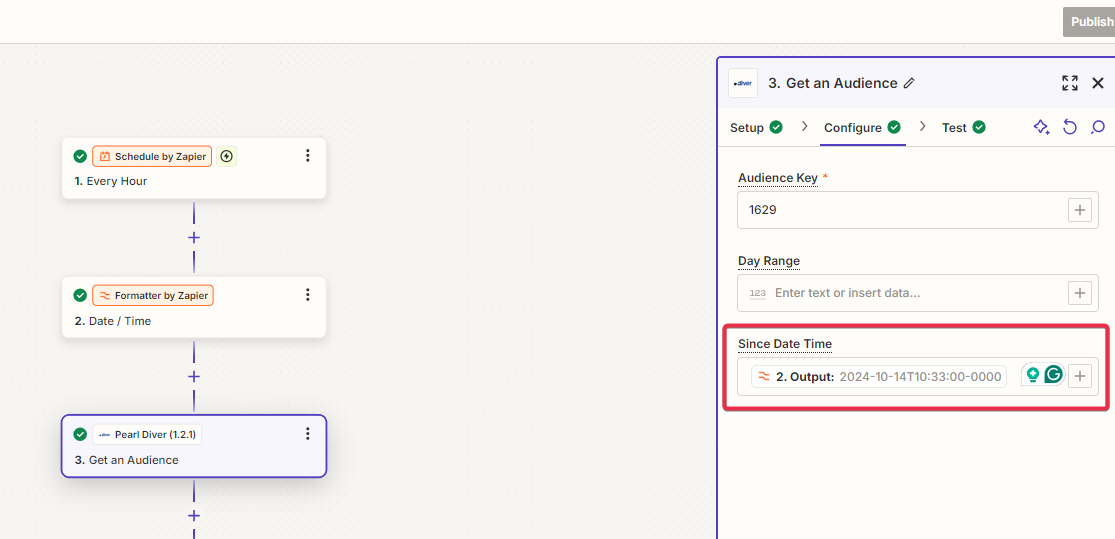
- Set the audience key, which was previously noted.
- If you selected 'Every day' in the trigger from Step 5
- Specify the date range, which is in days. This determines how many days' worth of leads you want to retrieve. The date range should align with the trigger frequency, e.g type 1 to pull the data for the last day, type 7 for the last week, etc.
- Leave the "since" parameter empty
- If you selected 'Every hour' in the trigger from Step 5
- Select the output from the 'Formatter by Zapier' Date / Time
- Leave the range parameter empty, pictured below.
- Click Test Step - test this step to verify it's functioning correctly and retrieving the desired data. You will need data on your dashboard for this.
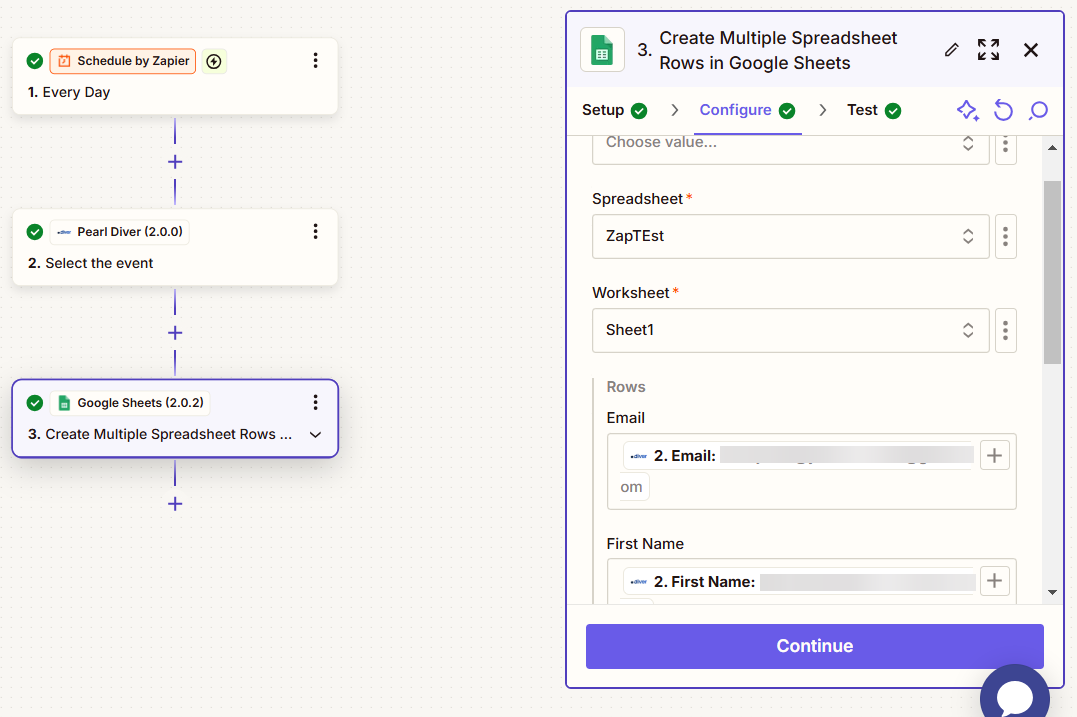
Step 12: Format the data so that it can be used by other platforms
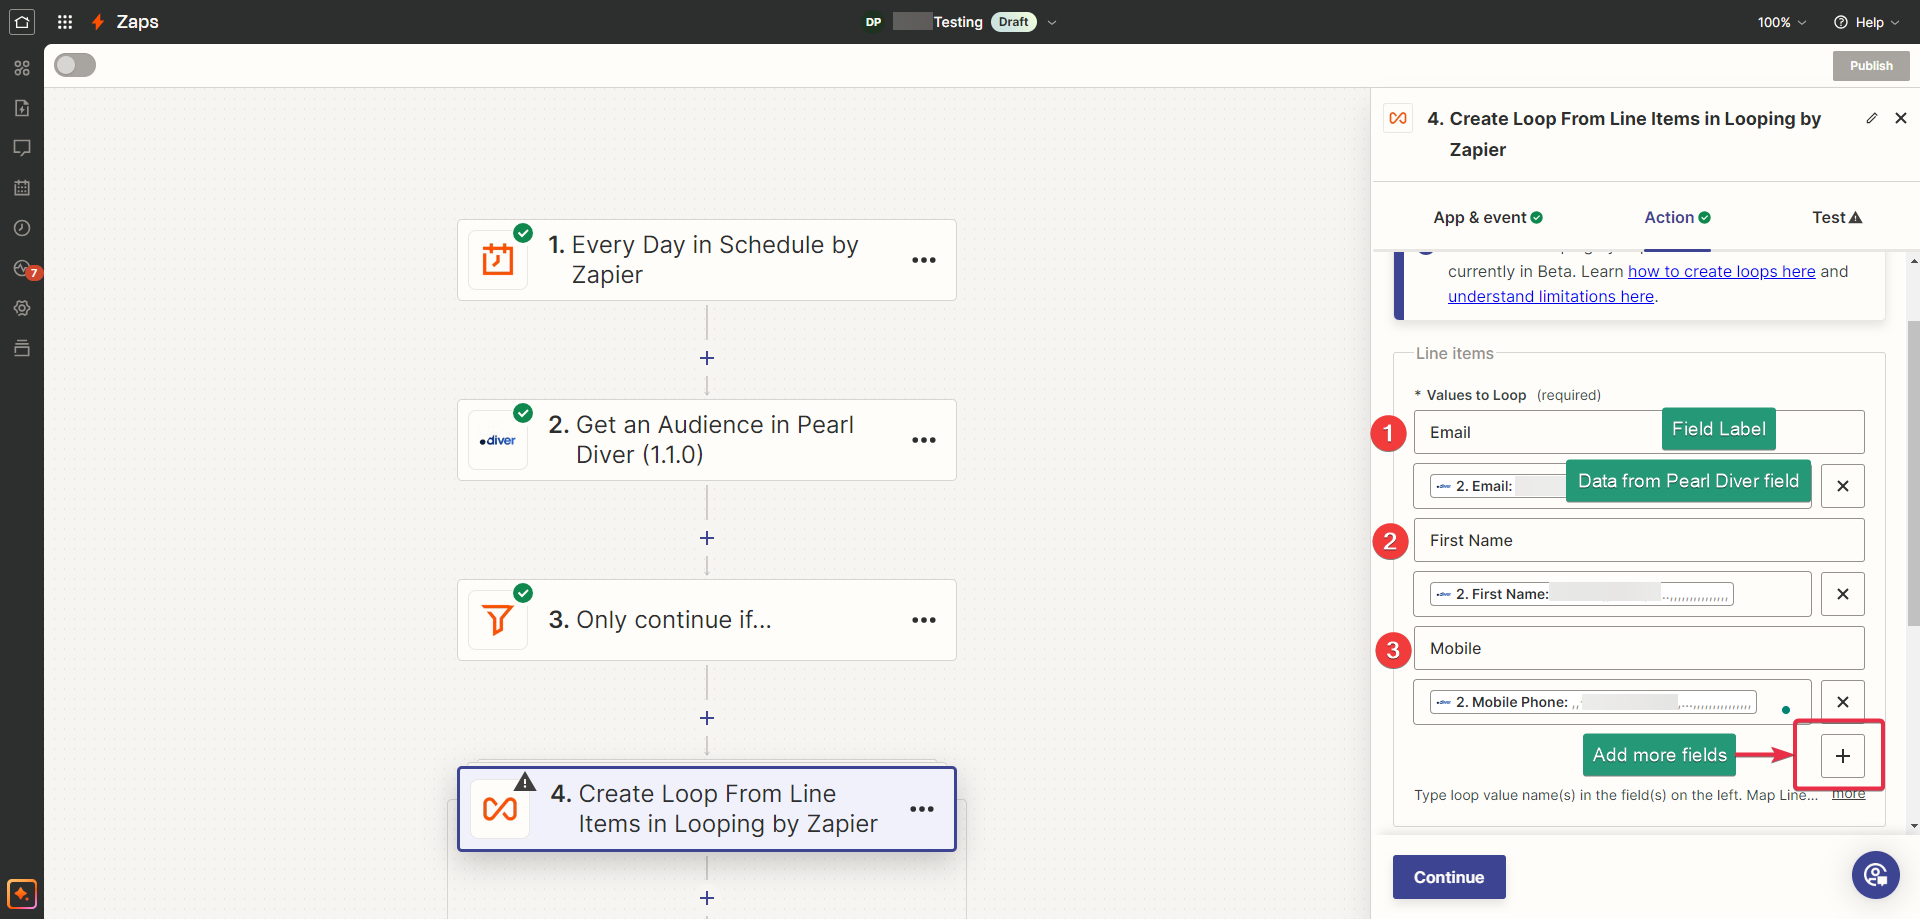
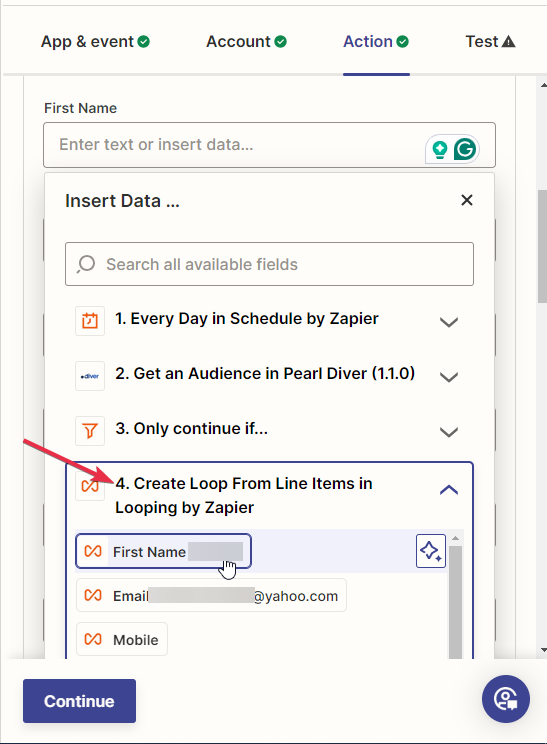
Note that the final steps will use the data fields created by the Loop (3) and not from the Pearl Diver action (2).
Step 13: Set Up where you want to send your data